
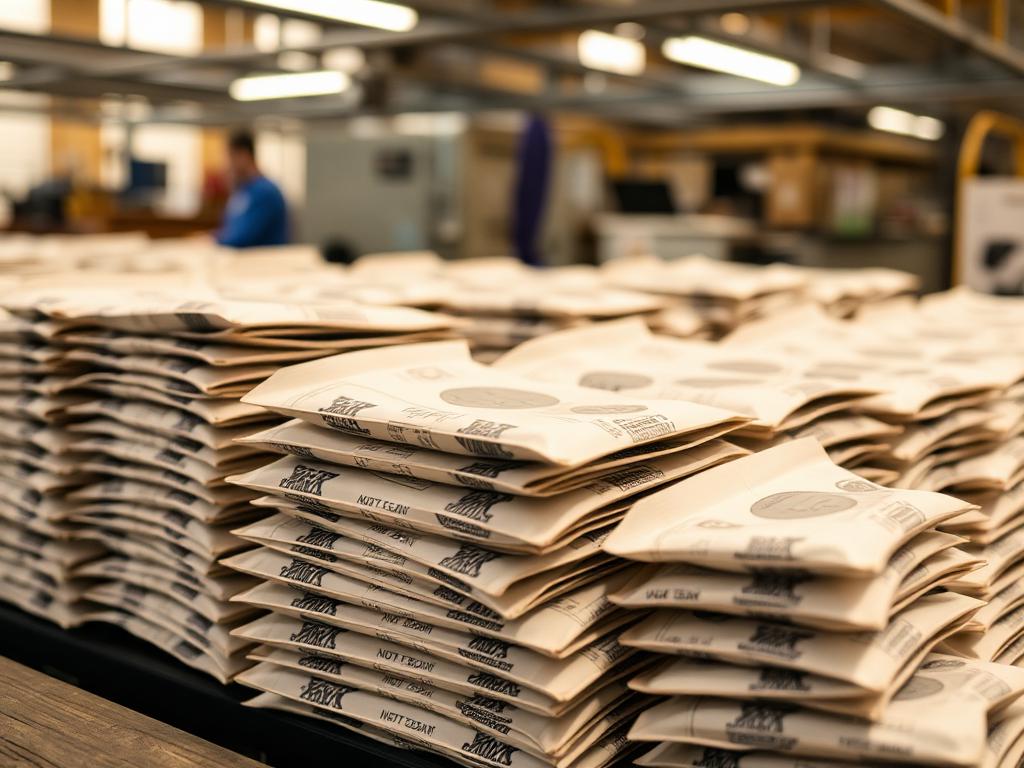
Food packaging carries three jobs at once. It has to keep the product safe and stable for its stated shelf life, carry the information the law requires, and convince someone to pick it up. Small brands have to satisfy all three without the volume that makes packaging cheap.
This is the sequence that keeps the decisions in the right order.
Step 1: Define the product before the package
Write down: what the product is, whether it is dry, oily, wet, acidic or frozen, the fill weight, the required shelf life, how it will be filled, and where it will be sold. Everything else follows.
An oily granola at twelve months needs a very different structure than a dried herb blend at six. A refrigerated item and a shelf-stable one behave differently at the seal. A product sold direct-to-consumer in a shipper faces different abuse than one facing a shopper on a shelf.
Step 2: Choose the format
Stand-up pouches are the workhorse for small food brands. Filled by hand or with a simple sealer, they need no capital equipment and present a full graphic face on a shelf. Zippers make multi-serve products practical; tear notches make them openable without scissors.
Lay-flat and pillow pouches are less expensive and suit single-serve, sample and case-sold items.
Flat-bottom bags read as premium and stand rigidly, which is why coffee and specialty dry goods often use them.
Roll stock becomes the answer when volume supports form-fill-seal filling, either in-house or at a co-packer.
Step 3: Specify a food-safe structure with the right barrier
Barrier is where shelf life is won or lost. Oxygen causes rancidity in fats and oils and staling in roasted products. Moisture ingress softens crisp foods and clumps powders. Light degrades pigments and some nutrients. Aroma loss ruins coffee, tea and spices.
Typical matches: PET/PE for dry goods with moderate needs; metallized PET/VMPET/PE for coffee, nuts, snacks and anything with fat content; foil laminations for the most sensitive items; nylon-containing structures for sharp or heavy fills; freezer-appropriate PE sealants for frozen products.
Confirm with your supplier that the films and inks are appropriate for direct or indirect food contact in your application, and ask what documentation ships with the order. Retailers and auditors ask for it eventually, and it is easier to have from the first run than to reconstruct later.
Step 4: Handle labeling requirements early
Food packaging in the US carries required elements: statement of identity, net quantity, ingredient list in descending order by weight, allergen declaration, nutrition information where required, and the name and address of the manufacturer or distributor. Claims — organic, gluten-free, non-GMO — carry their own substantiation and, in some cases, certification requirements.
Get the label content finalized and reviewed before prepress. Reprinting because an allergen statement was missed is the most avoidable cost in this category.
Step 5: Order in a way that protects cash
The instinct is to chase the lowest unit price, which means the largest quantity. For a young food brand that is usually the wrong trade.
Recipes change. Net weights change. A retailer asks for a different callout. Sell-through comes in at half or double the forecast. Every one of those turns a large pouch inventory into a write-off.
Digital printing is what makes smaller runs viable — no plates, no engraved cylinders, no five-figure tooling to amortize. That means a few thousand units is a normal order, and running four flavors in one job costs about what one flavor costs. Our buy-to-demand approach is built around ordering close to real demand and scaling what sells.
Step 6: Design for the shelf, not the screen
At shopping distance, a shopper resolves three things: what brand it is, what category it is, and which variety it is. Design that fails to deliver those in about two seconds loses regardless of how good it looks at 200% zoom on a monitor.
Practical rules: high contrast between the product name and background; flavor differentiation by color block or clear callout rather than subtle shifts; hero imagery that reads at small size; and a finish choice made deliberately — matte and soft-touch laminations lift perceived quality noticeably for a modest cost per unit.
Keep everything critical away from seal areas and the bottom gusset, which folds under when the pouch stands.
Step 7: Get the artwork production-ready
Build on the dieline your supplier provides. Work in CMYK, specify Pantone references for brand colors, include bleed, and convert or embed fonts. Ask for a physical proof before the run when color accuracy matters.
Files that arrive correct the first time routinely save a week.
What to send when you request a quote
Product type and fill weight, wet or dry, target shelf life, fill method, format and dimensions, features needed, number of SKUs and quantity per SKU. That is enough for a supplier to recommend an actual structure rather than a generic one.
Send yours through our contact form and we will come back with a specification, pricing and a realistic lead time.